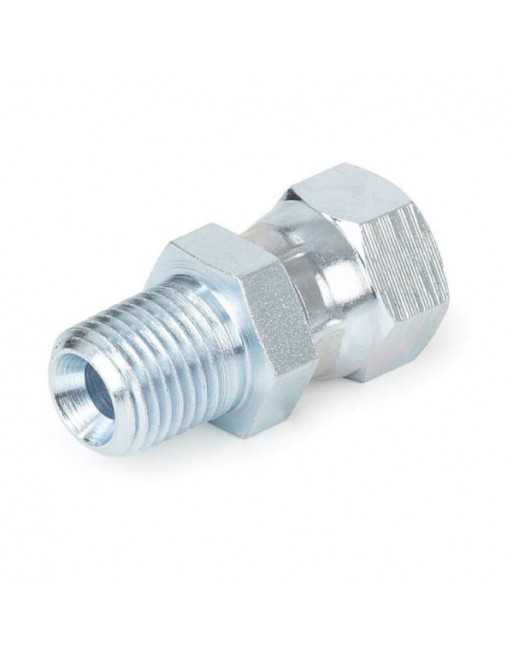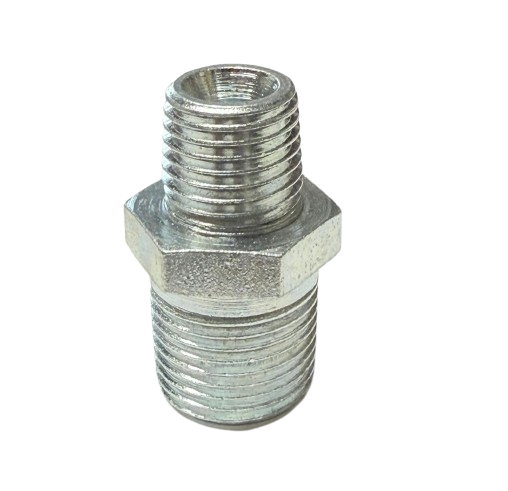
Graco 15A203 Cap
The Graco 15A203 Cap ensures secure sealing and reliable protection for vital pump components, supporting smooth and leak-free sprayer performance.
- Durable, long-lasting construction
- Maintains proper system pressure
- Prevents leaks and fluid contamination
- Ensures stable pump operation
Graco 15A203 Cap – OEM Regulator End Cover
The Graco 15A203 Cap is a critical OEM component designed to serve as the end cover or sealing cap for various Graco high-pressure regulator assemblies. It ensures proper enclosure, protection of internal parts, and maintains system integrity in demanding spray applications.
Product Overview
This cap is engineered to deliver a secure closure on the regulator body, protecting the valve internals, O-rings, diaphragms, and springs from contamination and deformation. Manufactured to Graco’s exacting specifications, the 15A203 Cap ensures fit-and-function compatibility and long-term durability under high-pressure environments.
Key Features
- Genuine Graco OEM part — Part Number: 15A203
- Robust construction designed for high-pressure regulator assemblies
- Secures and protects internal regulator components from debris and fluid ingress
- Maintains alignment and sealing of end-cap interface for consistent performance
- Precision-machined to ensure tight fit and minimal leakage risk
Technical Specifications
| Part Number | 15A203 |
|---|---|
| Description | Cap / End Cover for Regulator |
| Material | High strength metal alloy (OEM specification) |
| Application | High-pressure fluid or back-pressure regulator assemblies |
| Approximate Weight | ~0.1 lb (typical for regulator end-cap) |
Compatible Systems
- Graco fluid pressure regulators in the 233760, 233769, 233770 model series
- Graco back-pressure regulator models such as 233771, 233772 series
- Other Graco regulator assemblies using the cap part number 15A203 as indicated in OEM parts lists
Installation
To install the Graco 15A203 Cap correctly, follow these steps:
- Ensure the regulator is fully depressurized and drained before disassembly.
- Remove the existing cap carefully, taking note of any O-rings or internal seals.
- Inspect internal parts (e.g., diaphragm, springs, O-rings) for wear or damage before proceeding.
- Install the new 15A203 Cap, making sure any O-rings or gaskets are seated properly.
- Tighten the cap fasteners or screws to the manufacturer’s specified torque.
- Repressurize the system slowly and check for leaks or proper regulator operation.
Maintenance Advice
- Inspect the cap during routine service or when regulator performance changes.
- Check for signs of thread damage, corrosion, or sealing surface wear.
- Replace immediately if any deformation or damage is found to maintain system integrity.
- When reassembling, clean the mating surfaces and use new seals or O-rings as recommended.
Frequently Asked Questions
No reviews yet. Be the first to review this product!